We’ve championed GIMP as a great piece of free image editing and card making software in our software guide. If you’re new to using GIMP or aren’t sure how to use it to make your own cards then this simple tutorial should get you started. All you need is a photo or image you’ve taken with your phone or digital camera. Although if you need to the tutorial does give you the option to produce a purely text only card. But no further skills are necessary! So, let’s get started.
GIMP Greetings Card Tutorial
Step 1
Open/run GIMP. Once it’s opened then you need to create a blank document within GIMP. To do this go to the top left corner, click File, then New and choose your preferred card size from templates. You can also specify your own custom size if you wish.
Step 2
We next want to add something called a Guide to show the fold of the card on the screen.
Go to the top menu,click View and then Show Rulers. Select the top ruler and holding the mouse button down drag the cursor down the middle of the page and let go at the halfway point.
Step 3
Ok, our card is now ready to put a design on. We’re going to use a photo so we need to get one.
Go to File, click Open as Layers, and browse to the photo you want to use before clicking Open. If you want your photo smaller then you can use the scale tool to do so. Make sure you click the Chain button (the one that looks like a chain) first to keep the proportions the same.
Step 4
We want some text or words on our card, right? Yes, we do.
Choose the text tool from the toolbox on the right (the one with the big ‘A’) and then click on the page to open the Text Editor. Type whatever you like then click close. If you want to change the colour, font size, font type etc. You can do so in the Tool Options under the toolbox.
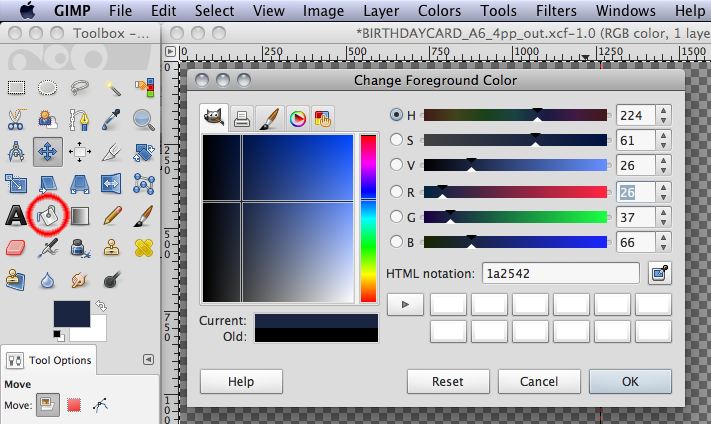
Step 5
Next we will add something to.the back of our card.
If you want to add a pre-made logo then follow the same steps you did for your photo above. You can add text to it in the same way as you added text in the last step.
Step 6
We’re going to want a message or sentiments on the inside of our card. To do this we’re going to hide the other layers.
Start by clicking on all the eye buttons in the layer palette toolbox beside each of the current layers to hide them. Next click on the layer that is topic the layers palette, then choose the Text Tool and click to add your text. Move and then edit that text as you wish.
Step 7
Finally we’re going to print our card. Both the inside and out can be printed on different sides of the card or paper you choose to use. You may want to.fo a test print on scrap paper first to make sure you don’t get it Wright and ruin some nice card!
Begin by hiding the inside layer and making the outside layers visible. These will then be printed first. Once you’ve printed that flip your paper or card on the horizontal axis and put it back into your printer. Hide the outside layers and make the inside ones visible. Then print those.
You should now have a fully printed card made in GIMP!
This is a very, very simple tutorial that just gives you the absolute basics for using GIMP. Hopefully though it will give you a starting point for using the image editing software and allow you to build in these skills as you become more confident.
thanks, but you didn’t address scaling an image to fit the page size.
that’s a tad important….