Contents
What is Decoupage?
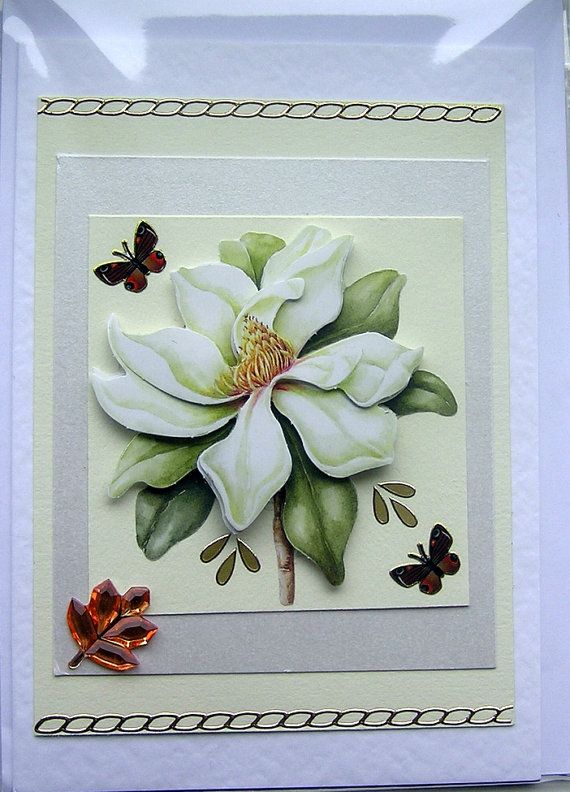
Decoupage, or in the case of card making 3D decoupage, is a simple yet effective technique. It involves taking cut out images of paper or card and layering it to create a raised, 3D like effect. It’s extremely effective at creating visually stunning cards and surprisingly easy to do.
Decoupage comes from the word “decouper”, which means to cut out.
What You Will Need
Decoupage is fairly simple and thus doesn’t require too elaborate or expensive tools.  There’s a very good chance that if you’ve done any craft before you’ll already have the tools. If not then they’re easy to get and use, so dont worry.
- Scissors or craft knife – this will be your choice as they both have their own advantages. The craft knife allows you to cut more intricate designs and images. it does mean you will need a cutting mat and replacement blades. Scissors whilst being less exact and precise are, of course, much simpler. There are also special scissors you can now buy that are specifically pointed to cut very fine detailed images. So you may want to take a look at those.
- Glue – you have a couple of choices when it comes to glue. If you need quick and easy, or you’re doing your decoupage with children, you may find foam pads preferable. They’re easy to use and don’t make a mess! The alternative is silicone glue. It dries less quickly so you’ll have more chance to change your mind or correct errors. Again, it’ll come down to personal preference.
- A sponge – just to mop up any mess or excess glue.
- Tweezers – not essential but definitely useful for picking up, placing and layering your images. Very good for your small pieces too.
- Decoupage Sheets – you can cut out your own images from things you find around the house – magazines, wrapping paper, books, even leaves or plants! But you can buy per done decoupage sheets or Diecut images with designs on them that you cut out and layer.
These are the basics but are all you need to create some lovely decoupaging.
How to Decoupage?
It’s all about the layering! Building your image up until it looks 3D. We’ll begin by explaining how to use decoupage sheets:
These sheets you buy with a few designs printed on them and the layers all seperate. You then cut out the layers, follow the instructions and layer them up.  Alternatively you can some identical sheets and then figure out which parts you need to cut out. This might sound tricky but you soon get used to it and what you’re looking for. It will also open up more images and options to you.
Back to the decoupage sheets:
- Cut out all the pieces.
- Use a pencil to lightly number them on their backs in the order they will go in.
- Avoid leaving any white paper from the sheets showing when you cut out the images. With scissors this should be simple. If you are using a craft knife you will need to be a bit more careful. If any white is left showing then try to hide it with pencil or pens along the edge in a lighter colour to the design itself.
- After you’ve cut out all your images it’s time to begin layering. Find the base and stick that directly to your card with your glue or adhesive.
The next layer then goes on making sure it’s straight and in the correct place. If you’ve chosen the silicone glue then you can take advantage of its slow drying to reposition anything at this point. - After that just keep adding the layers until you have your finished design!
There is another method of decoupaging that is perfect for card making: using your stamps.
- Very simple. Just take your chosen stamp and stamp the image a few times.
- Colour the images in.
- Build out to the smallest piece, using the different areas of the images to build it up with as many layers as you want.
Extras
The above will give you the basics to decoupage, but if you want to go a bit further there are some more techniques to master.
Feathering
If you are using birds or animals then there is a technique that makes appear feathered or like they have fur. It’s also a lot easier than you’d think. All you need to do is make small criss cross cuts along the area you wish to appear furry. This should leave you with the furry appearance. If you see the white of the paper after doing this then try to hide it with pens or pencils (as mentioned above).
Shaping
You can shape your cut out parts to add a roundness and extra life-likeness. This technique makes use of a shaping tool but you can use a round pencil if you’d prefer to not purchase anything else.
To achieve this technique take your image and place it on a soft surface. Something like a towel will work fine. Roll your shaping tool or pencil across the image like using a rolling pin. Once rolled check your design to see if it fits onto your decoupaged design. If not then you may have over rolled it. To rectify this just do the same as before but the other way.
Things to Remember
If you are using silicone glue then you may want to apply it with something like a cocktail stick. This will avoid getting too much on your card and gives you greater control. 
Cut out all your designs before sticking them down as if you make a mistake and the piece is hidden when layered then it gives you the chance to cut it out from the base print.
Replace the blades on your craft knives for each new project. It will make each decoupage project easier as your cutting will be so much smoother.
Finally just remember to enjoy yourself. It’s a great technique that gives you so many options and lets your creativity run wild.